Skip to content
Home
Appetizers, Snacks & Sides
Breakfast
Lunch
Dinner
Dessert
Nutrition Tips
About
Instagram
Amazon
Pinterest
thefoodiefloridian
Search
Lunch
May 24, 2021
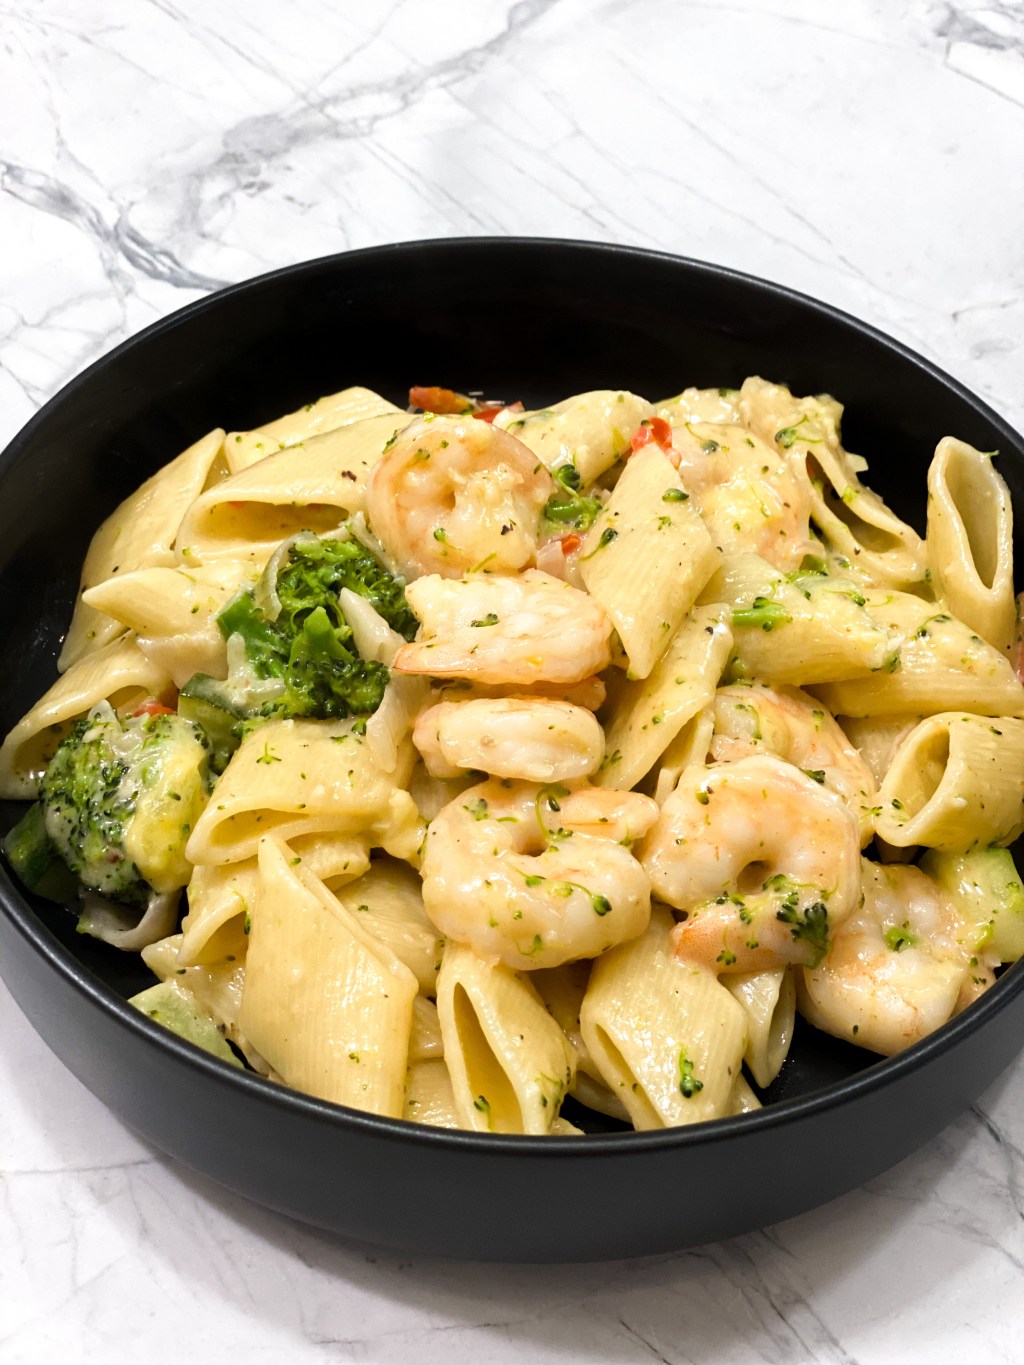
Veggie Shrimp Pasta
April 29, 2021
Mediterranean Shrimp Cauliflower Bowl
April 27, 2021
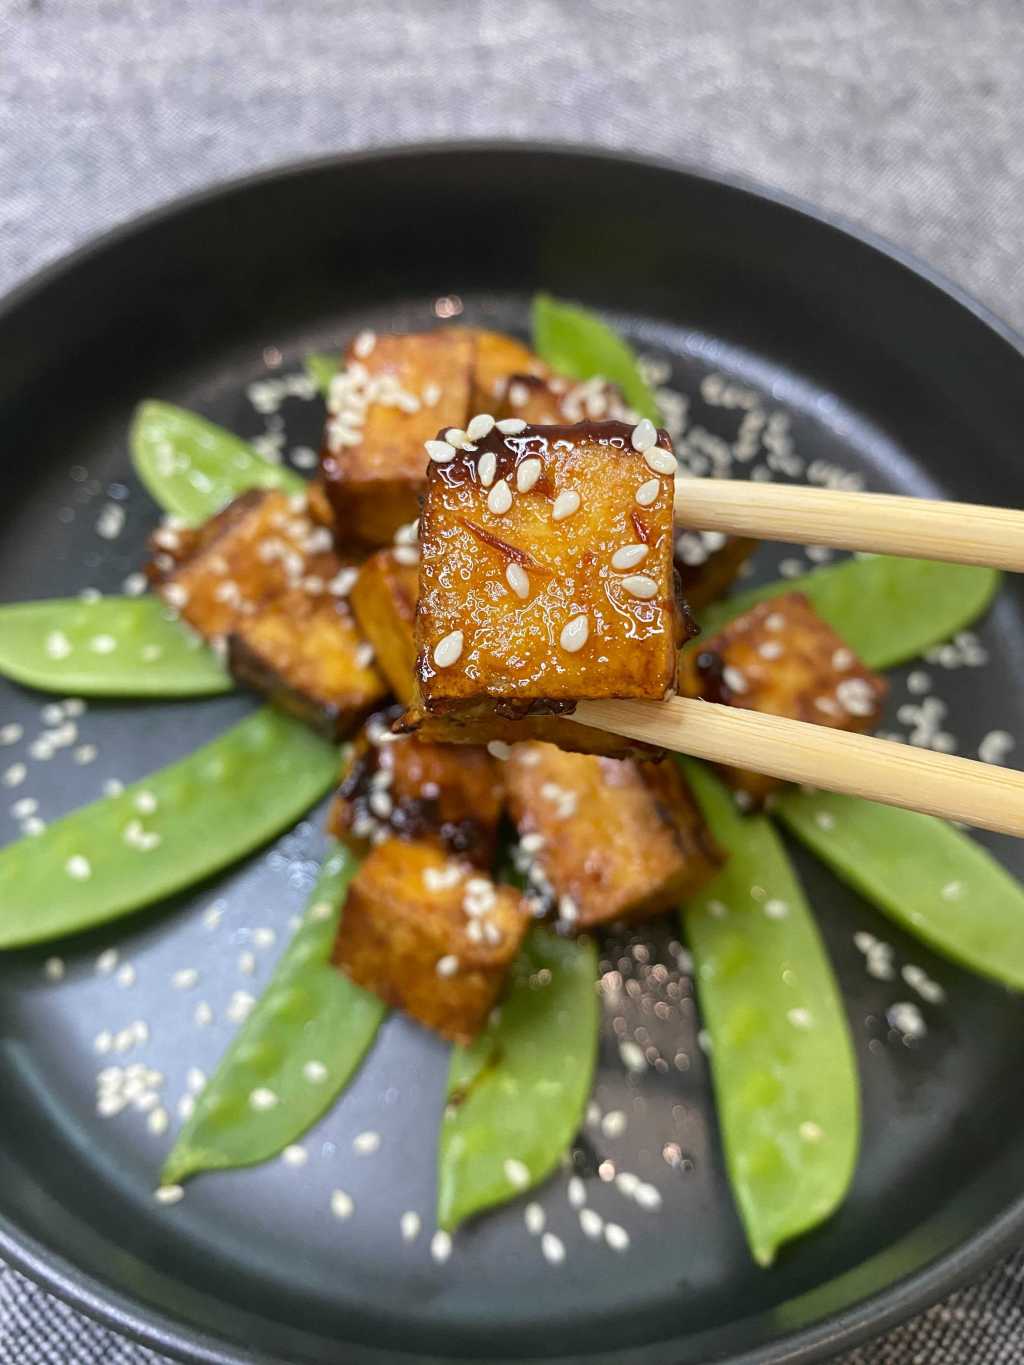
Crispy Honey Garlic Tofu
April 22, 2021
BLTT Cucumber Rolls
April 6, 2021
Blue Cheese Steak Salad
Privacy & Cookies: This site uses cookies. By continuing to use this website, you agree to their use.
To find out more, including how to control cookies, see here:
Cookie Policy
Subscribe
Subscribed
thefoodiefloridian
Join 60 other subscribers
Sign me up
Already have a WordPress.com account?
Log in now.
thefoodiefloridian
Subscribe
Subscribed
Sign up
Log in
Report this content
View site in Reader
Manage subscriptions
Collapse this bar