Skip to content
Home
Appetizers, Snacks & Sides
Breakfast
Lunch
Dinner
Dessert
Nutrition Tips
About
Instagram
Amazon
Pinterest
thefoodiefloridian
Search
Appetizers, Snacks & Sides
July 28, 2021
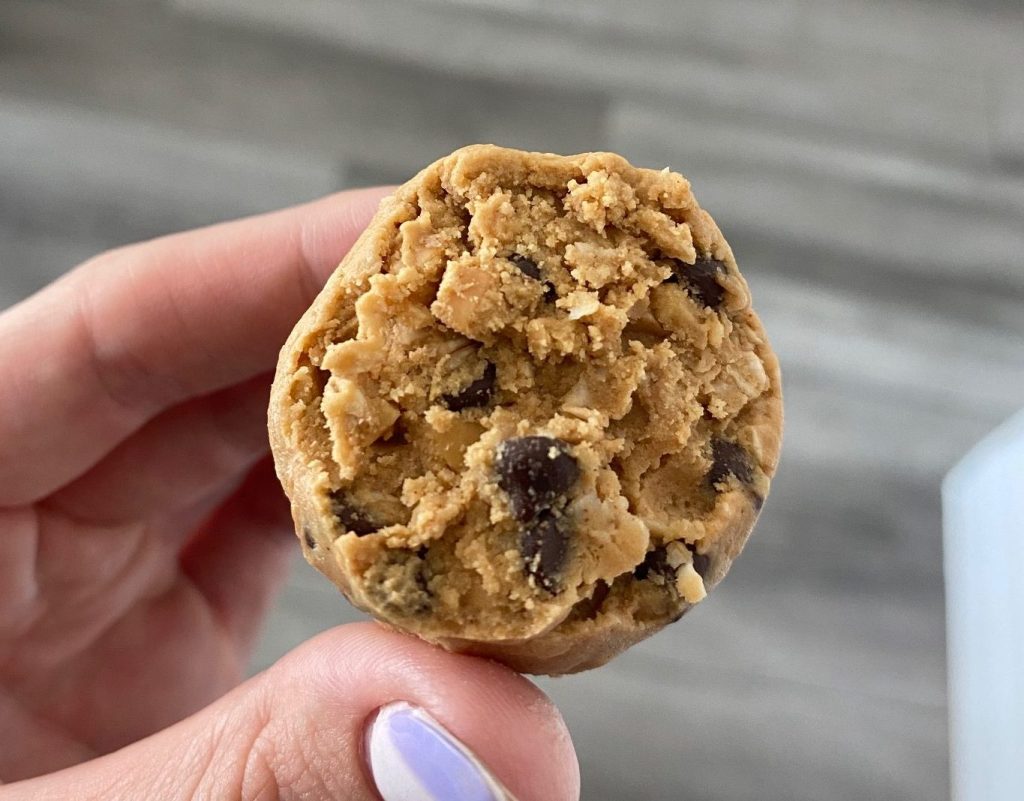
Peanut Butter CC Protein Balls
July 5, 2021
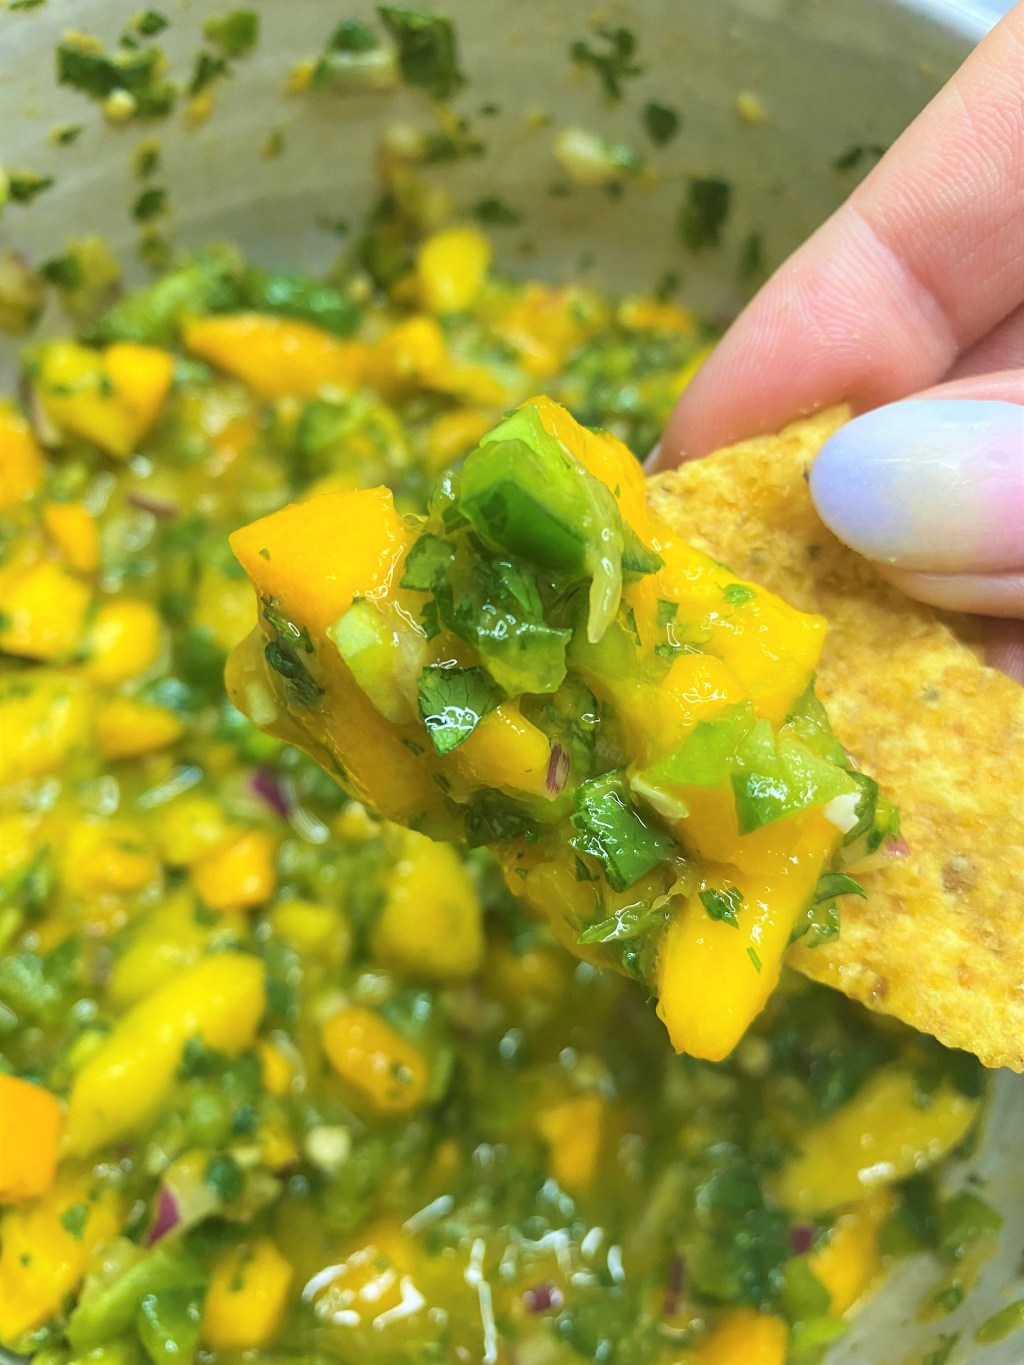
Easy Spicy Mango Cilantro Salsa
July 1, 2021
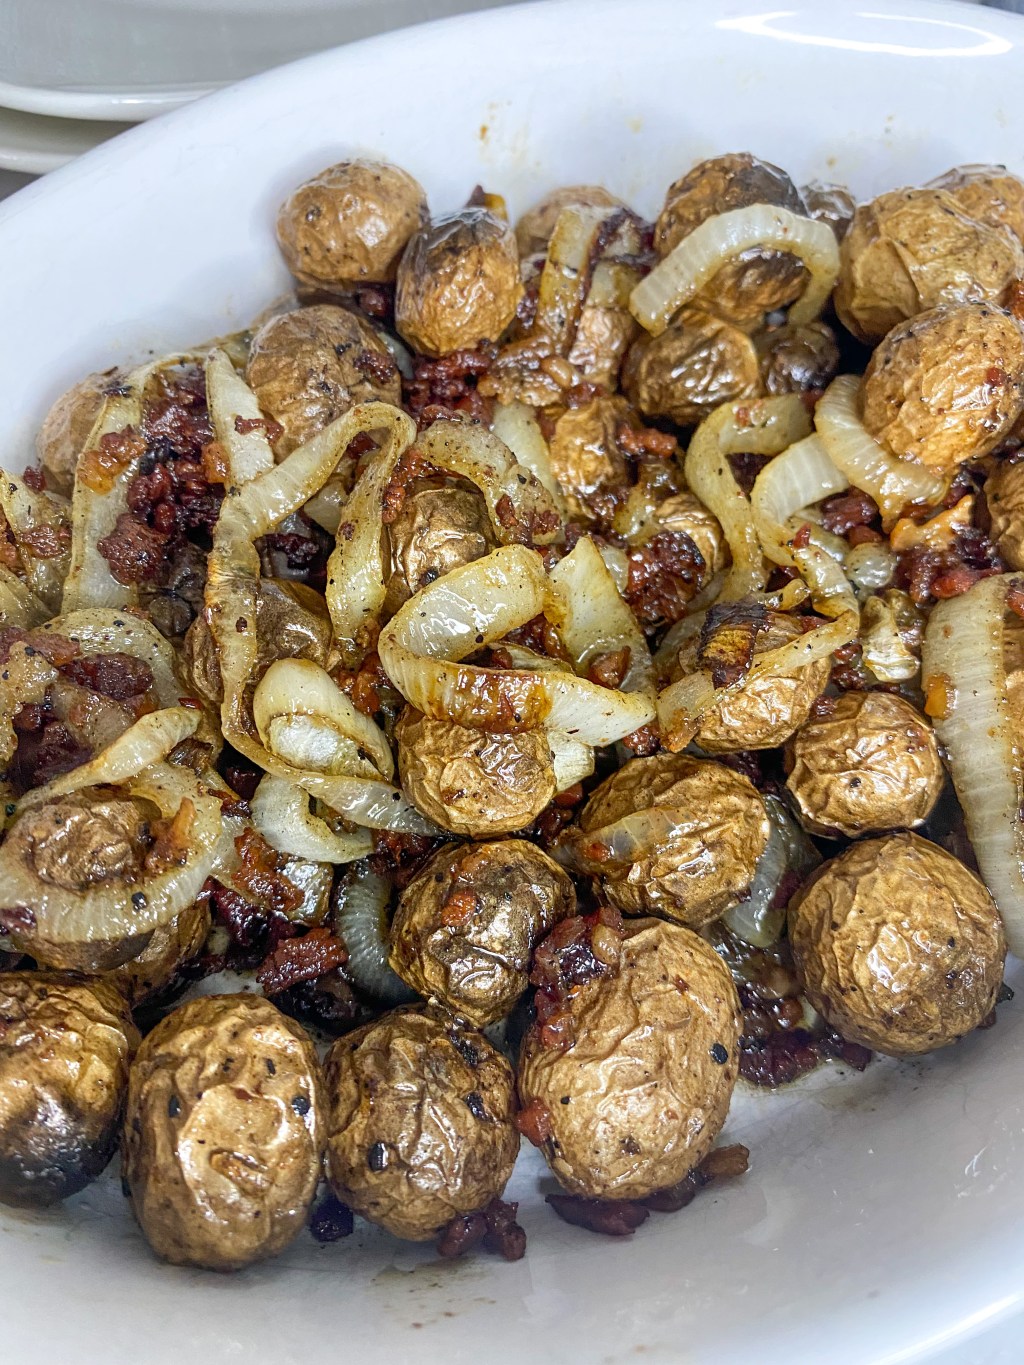
Bacon Onion Potato Nibbles
June 24, 2021
Strawberry Raspberry Mini Muffins – Gluten Free & Dairy Free
June 16, 2021
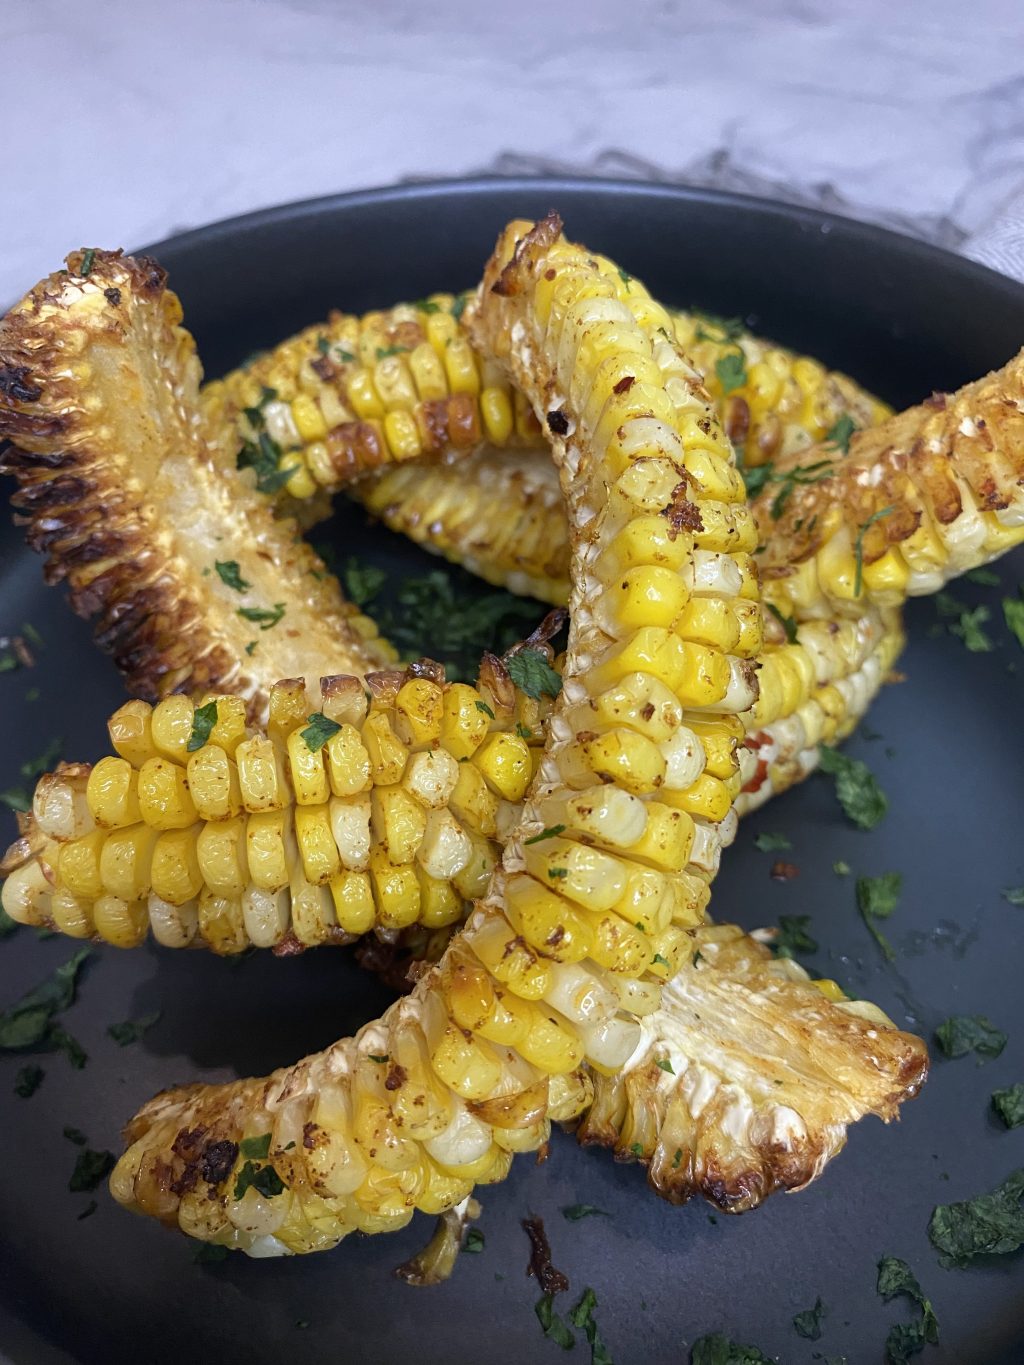
Spicy Corn Riblets – Air Fried
June 1, 2021
Caprese Cucumber Salad
May 28, 2021
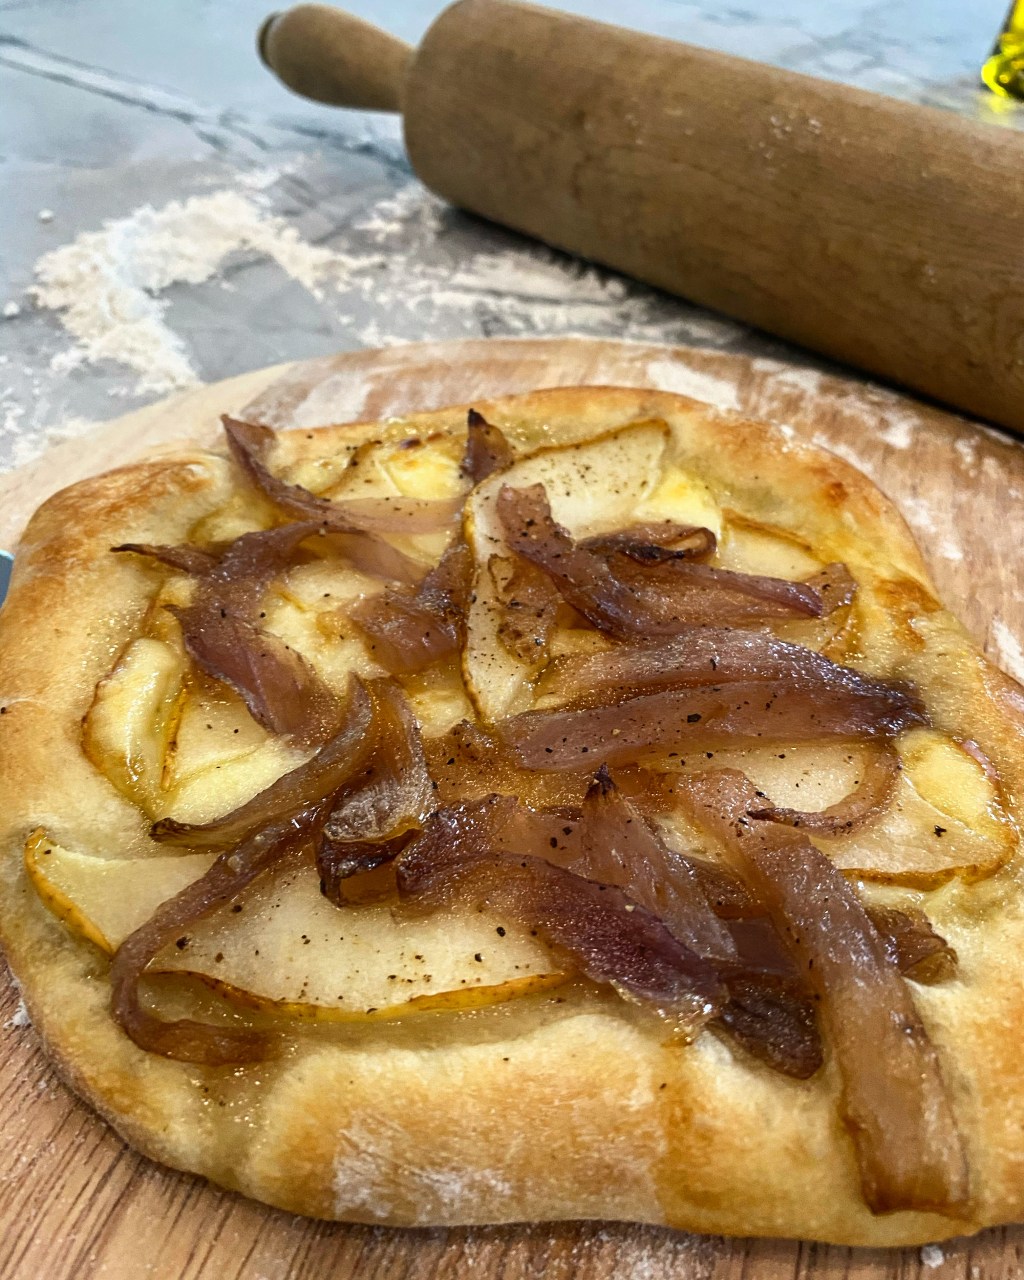
Brie, Pear and Caramelized Onion
May 26, 2021
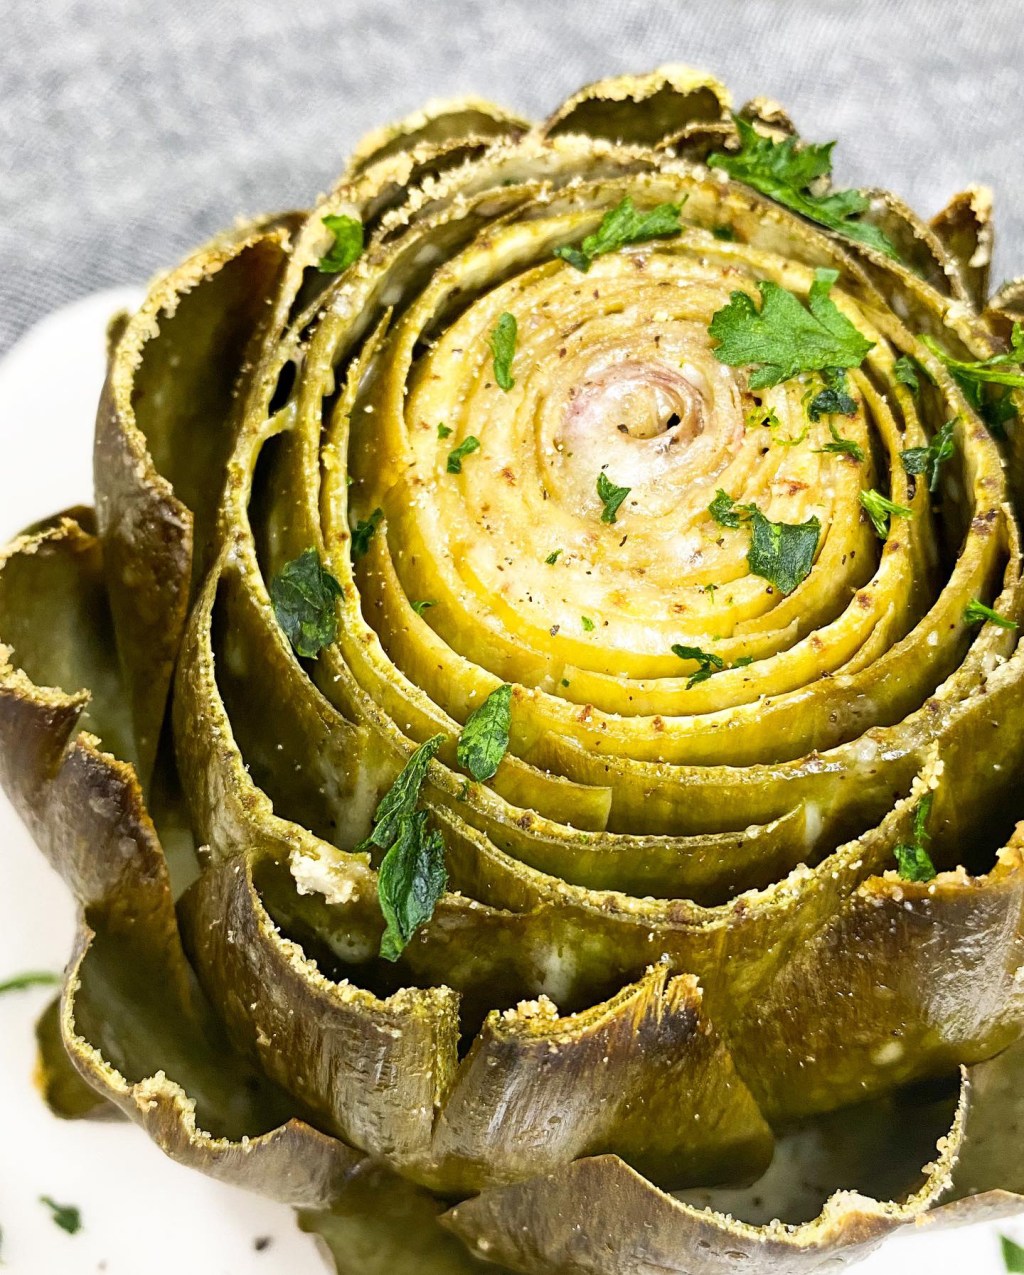
Garlic Parmesan Roasted Artichoke
April 26, 2021
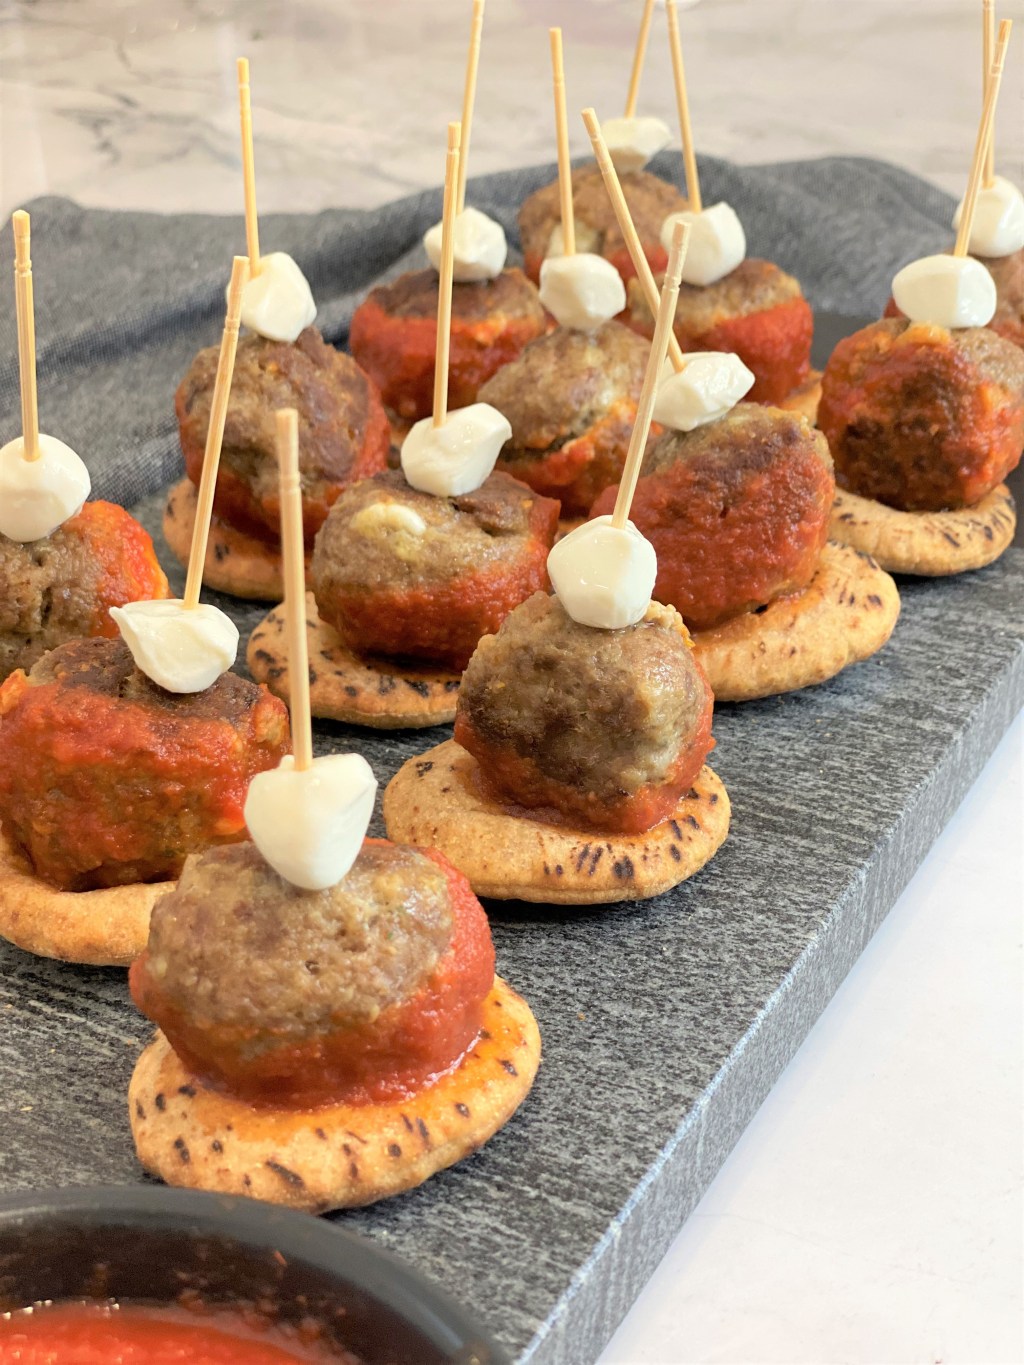
Mozzarella Stuffed Meatballs
April 22, 2021
BLTT Cucumber Rolls
Next Page
→
Privacy & Cookies: This site uses cookies. By continuing to use this website, you agree to their use.
To find out more, including how to control cookies, see here:
Cookie Policy
Subscribe
Subscribed
thefoodiefloridian
Join 60 other subscribers
Sign me up
Already have a WordPress.com account?
Log in now.
thefoodiefloridian
Subscribe
Subscribed
Sign up
Log in
Report this content
View site in Reader
Manage subscriptions
Collapse this bar